Today I killed two birds with one stone. Figurative birds with a figurative stone, of course. Literal birds would be barbaric (and pretty impressive).
But alas, I’m a vegetarian. Killing birds for sport or for food isn’t my thing.
Anyway. I’ve been at a loss for content for the blog for the past week or so. I started a couple of posts about things like badass coffee mugs and the pearl-clutching I found myself doing while trying to find some new “hip” clothes for myself and eventually they all ended up in the place where blog entries go to die. Drafts in a forever-coma, RIP.
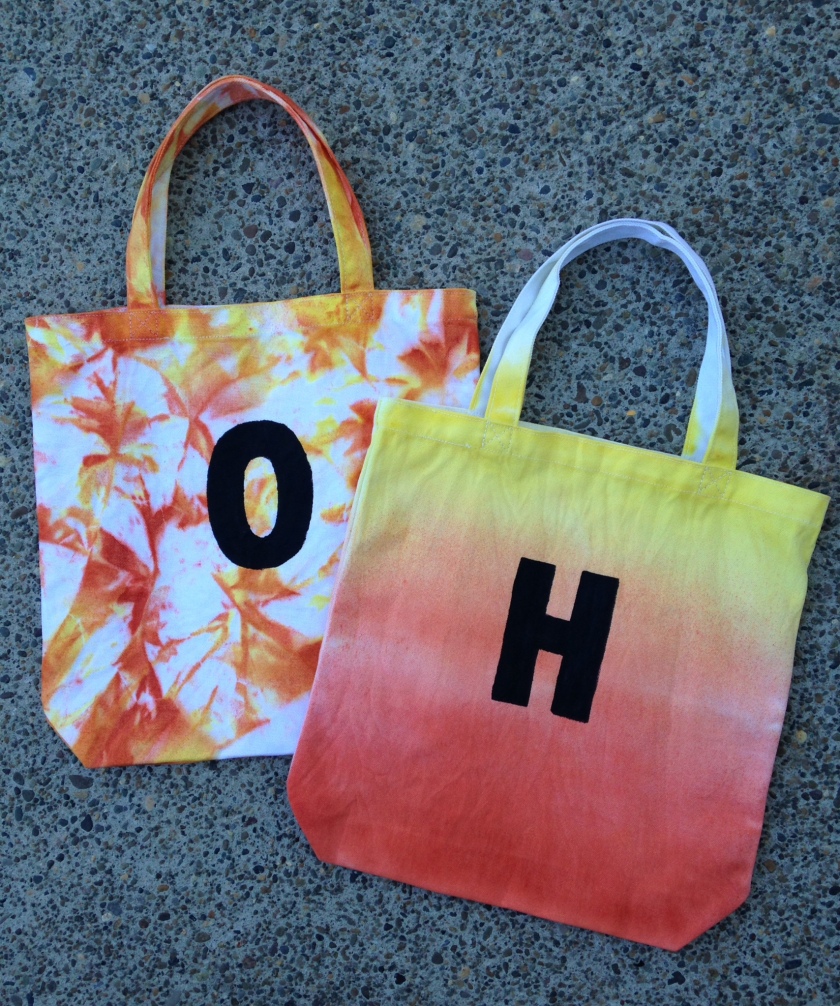
Issue #2 is now that Halloween-costume-catalog season is upon us, I have been relentlessly pelted with pleas for $88 costumes (NO.) and life-size posable skeletons (which my husband willingly obliged) and spider webs for our house. I tried explaining that we actually pay someone specifically so we do not have spider webs in our house- the preschooler was not swayed. All the talk has had me brainstorming Halloween ideas I could DIY and while I haven’t come up with costumes (yet?) I made these treat bags today, and they’re pretty cool if I do say so myself. So here’s both a new blog entry and one part of Halloween figured out.
//Trick-Or-Treat Bag DIY//
Materials Needed:
Citrus Orange Rit Fabric Dye
Lemon Twist Rit Fabric Dye
Plain Canvas Bags
Letter Stencils
Black Acryclic Paint and Paintbrush
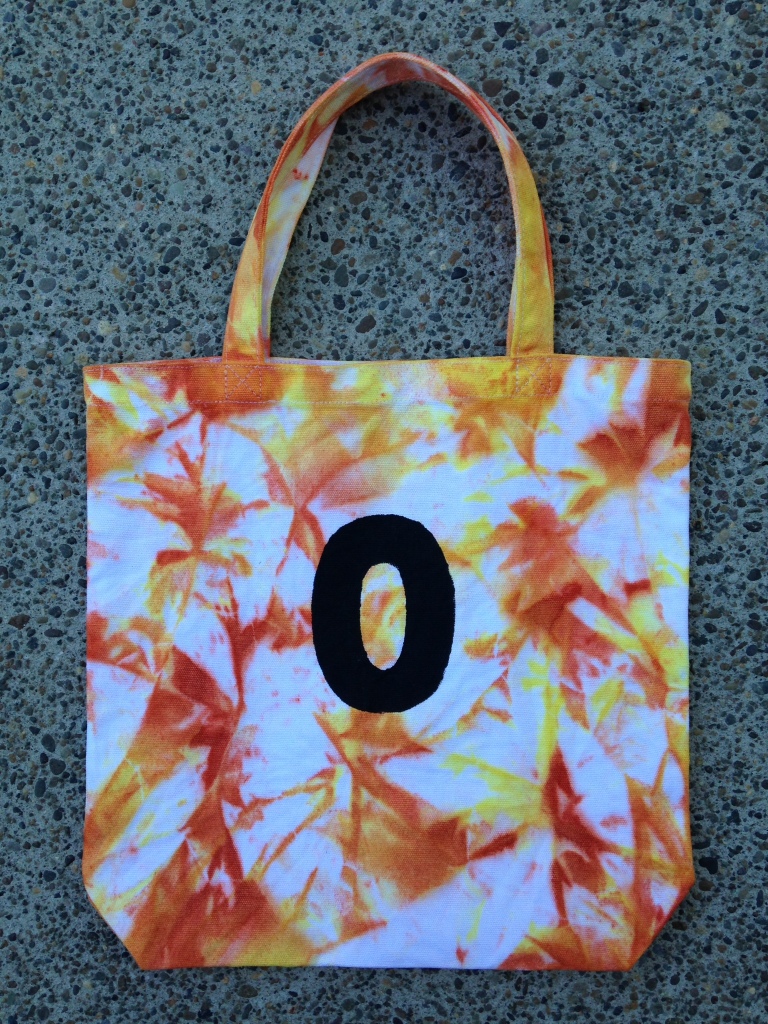
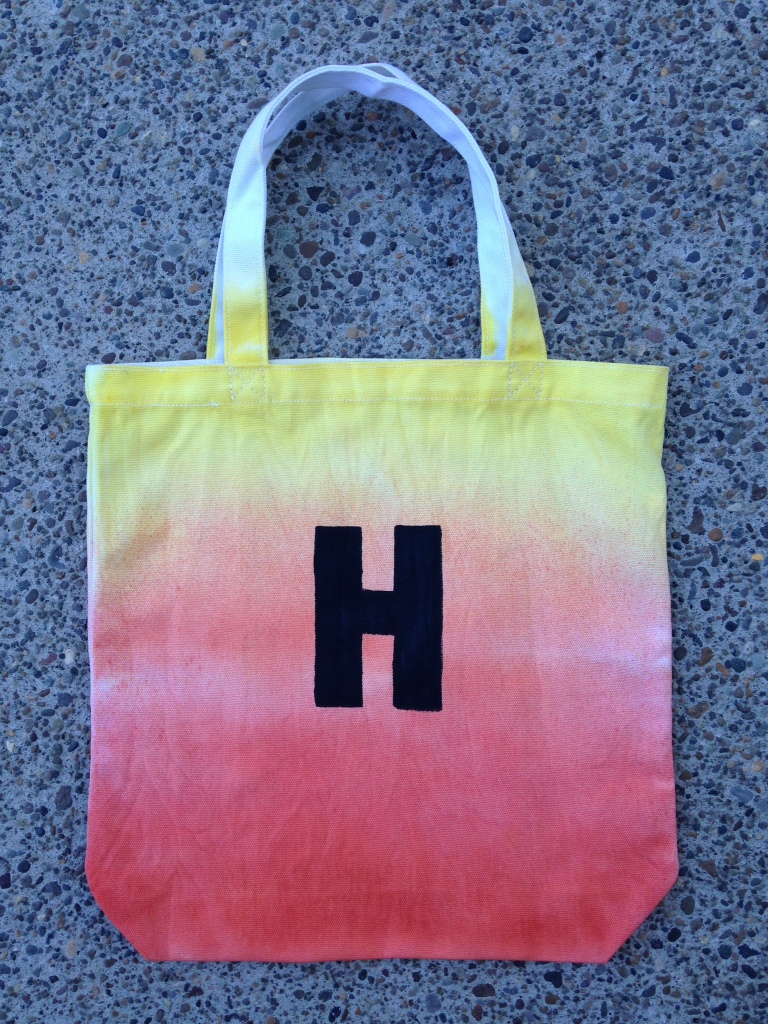
I decided to do a tie-dye bag for Oliver and a candy corn ombre-look for Harper. I love the way the tie-dye turned out looking like fall leaves. Oliver insists it’s fire. Whatever floats your boat.
To tie-dye, I first soaked the bag in water and then tightly wrung it out so it was only damp. I then tied the bag up in various places, the same as you’d do if you were tie-dyeing a shirt. I canvased the all sides of the bag with the two colors, and cut the ties off when I was finished. There was still a lot of white space on the bag once it was untied, so i tied it back up in different spots and repeated the whole process. I then hung the bag outside to dry for a couple of hours. 
For the ombre bag, I sprayed strips of color in various layers on both sides of the bag. I was heavier towards the bottom with the orange and towards the top with the yellow so they would somewhat gracefully blend in the middle. After I was satisfied with the color application, I took the bag to the kitchen sink and rinsed it really well with cold water. When most of the run-off was not so pigmented, I squeezed as much water out as I could and took it out to dry. When both of the bags were dry, I added the kids’ initials on the bag with my stencils and acrylic paint.
The whole project took about an hour and $24 in materials that I didn’t already own (bags and fabric dye). I like that because they are not themed to a certain costume, the kids can use these for a few years. I’d love to get some more colors and make some of these as everyday book/grocery totes. If you give this a shot, I’d love to hear how it went!
Happy crafting!
P.S. if you don’t feel like buying the stuff and DIYing it, I’d love to make you one ;).


Cute idea!
LikeLike
Thank you!
LikeLiked by 1 person
Love this! 🙂
LikeLike
I’m so flattered, thank you!
LikeLike